内部ページ レギュレーション
クライアントごとのレギュレーションページに作成手順を説明します。まずは、なぜレギュレーションページを作るのかを理解するために、以下の動画をご確認ください。
SQLファイルのインポート
- freo.page.sql
- freo.options.sql
- freo.option_sets.sql
regulation.htmlを複製してアップロード
- L:\htdocs\s-contigo.website\templates\page\regulation.html をコピー
- 制作中のサイトの同じディレクトリー内にファイルを複製
- ファイルをサーバーにアップロード
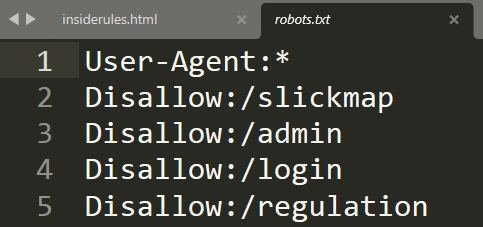
robots.txtの編集
robots.txt に Disallow:/regulation を追記
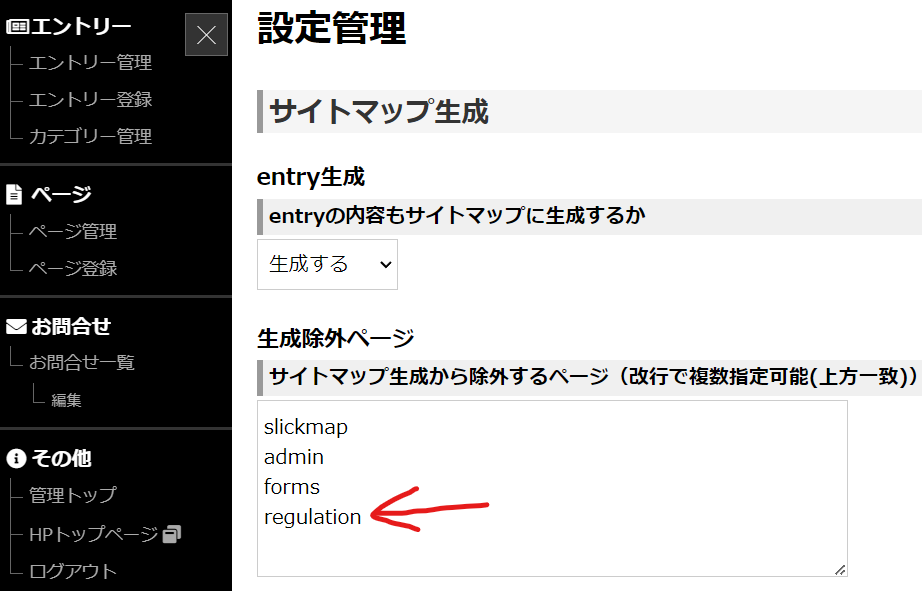
サイトマップの除外設定
.com/admin/config?exec=update&type=plugin&file=sitemap にアクセスして、生成除外ページに regulation を追加
pageテンプレートファイルを編集
/templates/internals/page/default.html の26行目辺りを編集して、レギュレーションページの下層ページでも、該当ファイルを読み込むようにする。
<!--{if $page.restriction == 'password' and !$smarty.session.security.page[$page.id] and $freo.user.authority != 'root' and $freo.user.authority != 'author'}-->
<form action="{$freo.core.http_file}/view/{if $page.code}{$page.code}{else}{$page.id}{/if}" method="post" class="pwd">
    <input type="text" name="page[password]" size="30" value="" placeholder="パスワード"><input type="submit" value="認証する">
</form>
<!--{elseif file_exists("templates/page/$include_file")}-->
↓
<!--{if mb_strpos($page.id, 'regulation') === 0}-->
{include file=page/regulation.html}
<!--{elseif $page.restriction == 'password' and !$smarty.session.security.page[$page.id] and $freo.user.authority != 'root' and $freo.user.authority != 'author'}-->
<form action="{$freo.core.http_file}/view/{if $page.code}{$page.code}{else}{$page.id}{/if}" method="post" class="pwd">
    <input type="text" name="page[password]" size="30" value="" placeholder="パスワード"><input type="submit" value="認証する">
</form>
header.htmlを編集
code-prettifyを有効にするため、/templates/header.html の</head>の直前に以下を追加
<!--{if mb_strpos($page.id, 'regulation') === 0}-->
<link rel="stylesheet" href="{$freo.core.http_url}css/code-prettify.css">
<!--{/if}-->
footer.htmlを編集
code-prettifyを有効にするため、/templates/footer.html を以下のように編集する。
</body>
</html>
↓
<!--{if mb_strpos($page.id, 'regulation') === 0}-->
<script src="https://cdn.rawgit.com/google/code-prettify/master/loader/run_prettify.js?skin=sons-of-obsidian"></script>
<script src="{$freo.core.http_url}js/lang-css.js"></script>
<!--{/if}-->
</body>
</html>
cssファイルの編集
共通デザインとして使用するため、以下の4つのファイルを編集してください。
 .com ルートディレクトリー
└ css
  ├ 1 style.css--------:WEB 1,280px以上
  ├ 2 pc.css-----------:WEB 1,279px以下、1,025以上
  ├ 3 tablet.css-------:WEB 1,024以下、601px以上
  └ 4 smart.css--------:WEB 600px以下
誤ったH2に適用するCSSの編集例
レギュレーションページのHTMLは編集しないでください。例えば、以下のようなHTMLがあったときに、以下のように変更をすることはNGです。該当サイトのベースとなるデザインなので、上記の4つのCSSファイルに既に記載してある内容を書き替えてください。
誤ったHTMLの編集例
HTMLにclassを付与して変更するのはNGです。これは、サイト全体ではなく、レギュレーションページに限ったルールです。
<h2>サブタイトル</h2>
↓
<h2 class="subtitle">サブタイトル</h2>
誤ったCSSの編集例
既に記載をしてあるCSSを上書きする記載方法はNGです。
h2 {
	font-size: 3.0rem;
	padding: 0 0 10px;
	margin: 0 0 3.0rem;
	position: relative;
	border-bottom: 3px solid #eee;
}
↓
h2.subtitle {
	font-size: 4.0rem;
	color:#b84211;
	padding: 0 0 10px;
	margin: 0 0 3.0rem;
	background:#eee;
}
正しいH2に適用するCSSの編集例
レギュレーションページのHTMLは編集せずに、該当するCSS部分だけを編集してください。
正しいHTMLの編集例
<h2>サブタイトル</h2>
↓class名などは付与せずにそのまま
<h2>サブタイトル</h2>
正しいCSSの編集例
既に記載をしてあるCSSを書き直してください。(ここで書くCSSがサイト全体の基本スタイルとなります。)
h2 {
	font-size: 3.0rem;
	padding: 0 0 10px;
	margin: 0 0 3.0rem;
	position: relative;
	border-bottom: 3px solid #eee;
}
↓
h2 {
	font-size: 4.0rem;
	color:#b84211;
	padding: 0 0 10px;
	margin: 0 0 3.0rem;
	background:#eee;
}